Installation for Windows
To start developing OpenXR applications for immersive Windows Mixed Reality headsets:
Be sure you are running at least the Windows 10 May 2019 Update (1903), which is the minimum requirement for Windows Mixed Reality end users to run OpenXR applications. If you're on an earlier version of Windows 10, you can upgrade by using the Windows 10 Update Assistant. Set up a Windows Mixed Reality headset or follow the instructions to enable the Windows Mixed Reality simulator. That's it! The Windows Mixed Reality OpenXR runtime is installed and made active automatically for all Windows Mixed Reality users. The Microsoft Store then keeps the runtime up to date.
If you ever need to make the Windows Mixed Reality OpenXR Runtime active again, launch Mixed Reality Portal from the Start menu, and click "Fix it" in the banner at the top of the window. If that button is missing, the OpenXR runtime is already active.
Getting the OpenXR Developer Tools for Windows Mixed Reality.
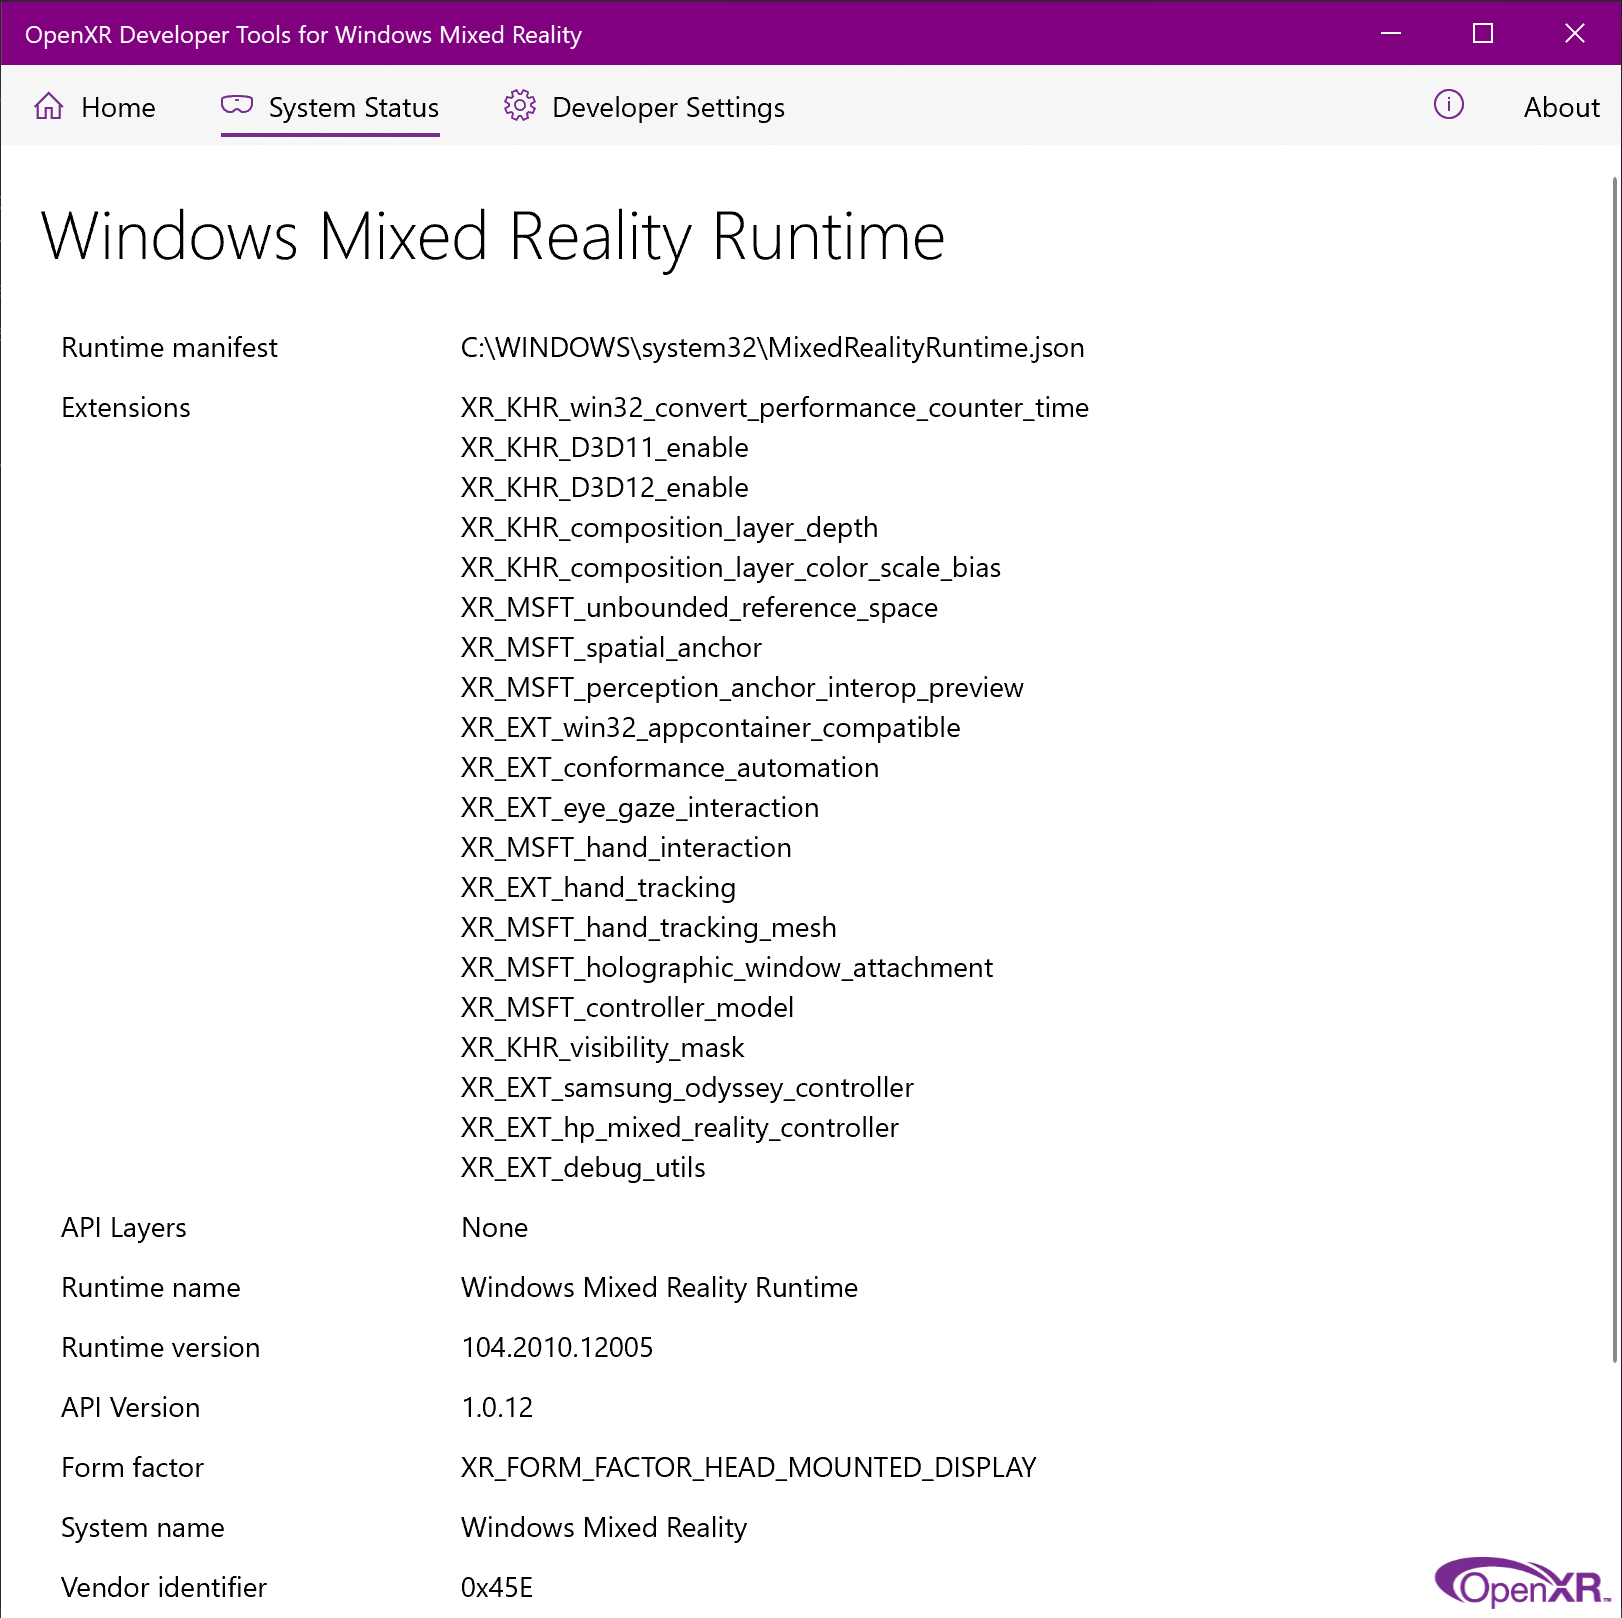
To try out the Windows Mixed Reality OpenXR Runtime, you can install the OpenXR Developer Tools for Windows Mixed Reality app. This app provides a demo scene that exercises various features of OpenXR, along with a System Status page that provides key information about the active runtime and the current headset.
If using the HoloLens 2 emulator, the easiest way to install the OpenXR Developer Tools for Windows Mixed Reality is using Windows Device Portal, by navigating to the "OpenXR" page and then clicking the "Install" button under "Developer Features". (this works on a physical HoloLens 2 device as well)
Building a sample OpenXR app.
Be sure to install the tools you'll need for OpenXR development if you haven't already.
The BasicXrApp project demonstrates a simple OpenXR sample with two Visual Studio project files, one for both a Win32 desktop app and one for a UWP HoloLens 2 app. Because the solution contains a HoloLens UWP project, you'll need the Universal Windows Platform development workload installed in Visual Studio to fully open it.
Note that while the Win32 and UWP project files are separate due to differences in packaging and deployment, the app code inside each project is almost exactly the same!
After building an OpenXR Win32 desktop .EXE, you can use it with a VR headset on any desktop VR platform that supports OpenXR, whether it's a Windows Mixed Reality headset or any other headset.
After building an OpenXR UWP app package, you can deploy that package to either a HoloLens 2 device or the HoloLens 2 Emulator.
Integrate the OpenXR loader into a project.
To get started with OpenXR in an existing project, you'll include the OpenXR loader. The loader discovers the active OpenXR runtime on the device and provides access to the core functions and extension functions that it implements.
You can either reference the official OpenXR NuGet package from your Visual Studio project or include the official OpenXR loader source from the Khronos GitHub repo. Either approach will give you access to OpenXR 1.0 core features, plus published KHR, EXT and MSFT extensions.
If you're interested to experiment with MSFT_preview extensions as well, you can copy in preview OpenXR headers from the Mixed Reality GitHub repo.
Reference official OpenXR NuGet package.
The OpenXR.Loader NuGet package is the easiest way to reference a prebuilt OpenXR loader .DLL in your Visual Studio C++ solution. This will give you access to OpenXR 1.0 core features, plus published KHR, EXT and MSFT extensions.
To add an OpenXR.Loader NuGet package reference to your Visual Studio C++ solution:
- In Solution Explorer, right-click the project that will use OpenXR and select Manage NuGet Packages....
- Switch to the Browse tab and search for OpenXR.Loader.
- Select the OpenXR.Loader package and click Install in the details pane to the right.
- Click OK to accept the changes to your project.
- Add
#include <openxr/openxr.h>to a source file to start using the OpenXR API. To see an example of the OpenXR API in action, check out the BasicXrApp sample app.
Include official OpenXR loader source.
If you want to build the loader yourself, for example to avoid the extra loader .DLL, you can pull the official Khronos OpenXR loader sources into your project. This will give you access to OpenXR 1.0 core features, plus published KHR, EXT and MSFT extensions.
To get started here, follow the instructions in the Khronos OpenXR-SDK repo on GitHub. The project is set up to build with CMake - if you are using MSBuild, you will need to copy the code into your own project.
Using preview extensions.
The MSFT_preview extensions listed in the extension roadmap are experimental vendor extensions being previewed to gather feedback. These extensions are for developer devices only and will be removed when the real extension ships.
If you're interested to try out the available MSFT_preview extensions, go through the following steps to update your project:
- Follow either of the approaches above to integrate an OpenXR loader into your project.
- Replace the standard OpenXR headers in your project with the preview headers from the Mixed Reality OpenXR repo on GitHub.
To then activate preview extension support on your target HoloLens 2 or desktop PC:
- To make sure you've got the latest OpenXR runtime with all extensions present, launch the Store app from within the target device or emulator, open the menu in the upper-right, click Downloads and updates and click Get updates.
- Install the OpenXR Developer Tools for Windows Mixed Reality app from the Microsoft Store onto the target device and run it.
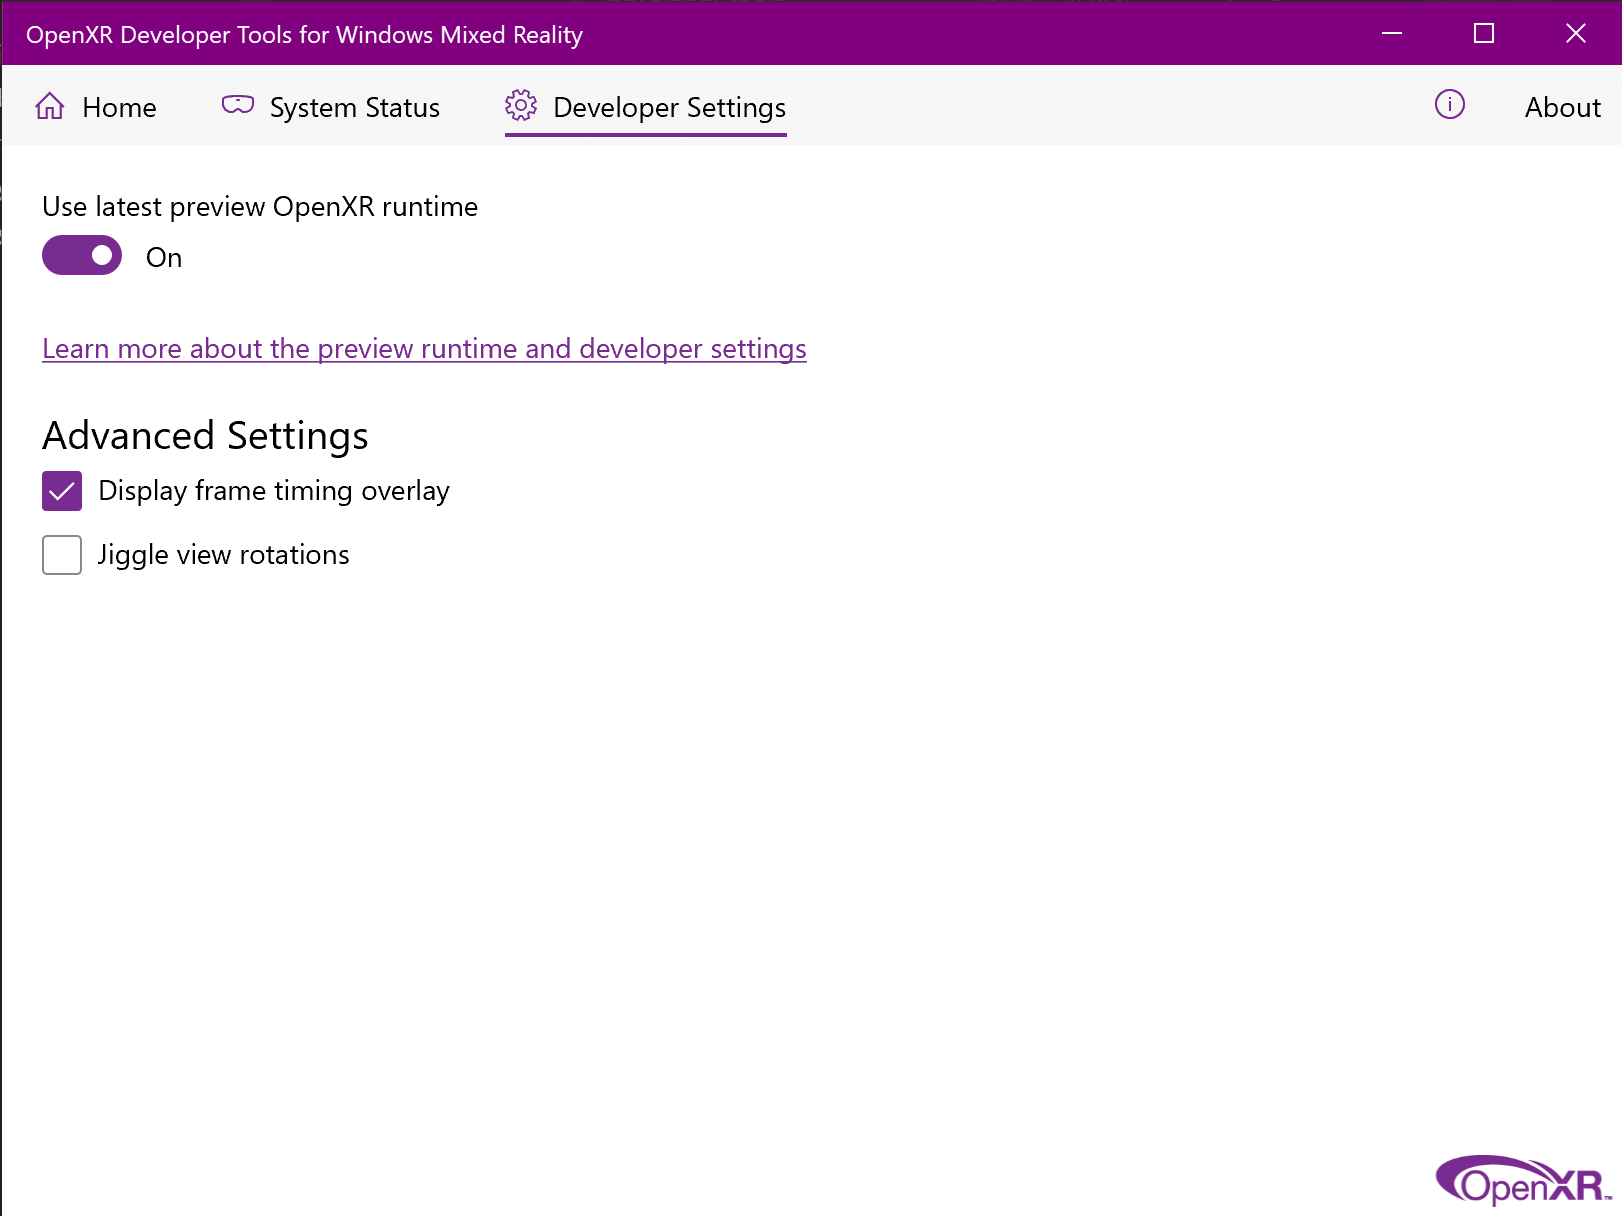
- Navigate to the Developer Settings tab and enable Use latest preview OpenXR runtime. This enables the preview runtime on your device, which has preview extensions activated.

- Confirm that the Runtime version shown on the System Status tab of the OpenXR Developer Tools for Windows Mixed Reality now matches the required version of the preview extensions you plan to try. If so, you should see the extension in the Extensions list. Note that once a stable extension is available, its preview extension will be removed.

You can write JSX and use React components within your Markdown thanks to MDX.
Docusaurus green and Facebook blue are my favorite colors.I can write Markdown alongside my JSX!
 Home
Home